 HOME
HOME





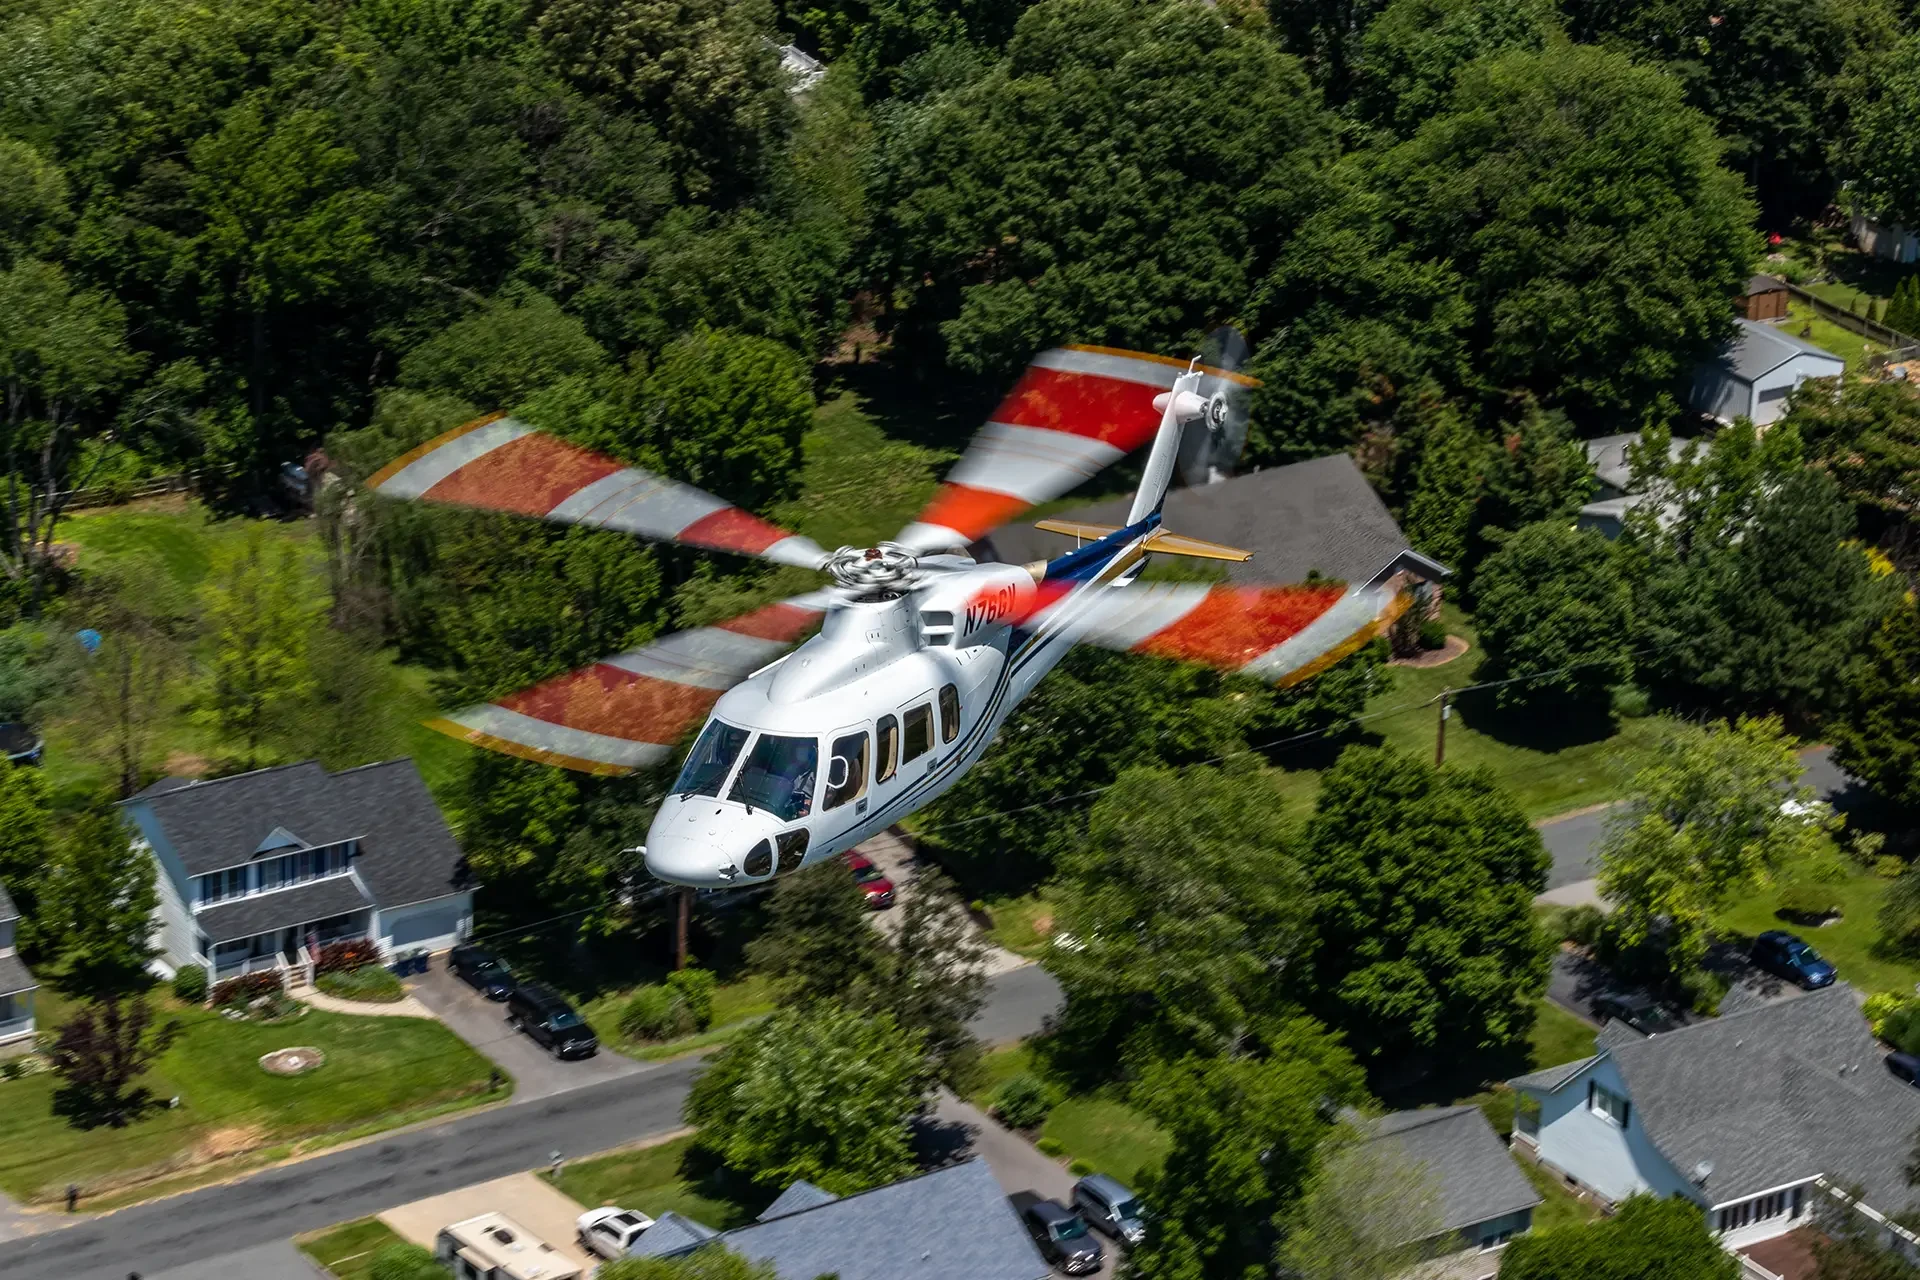
Probably one of the most misunderstood topic for helicopter pilots: the helicopter performance classes. Not only can this topic be extremely confusing, the finer details are also dependent on where you are in the world. Jop Dingemans explains…
There are plenty of really experienced pilots who do not fully understand the ins and outs of performance classes, not to mention the importance of the lesser-known facts that come with this topic. It is crucial however, to know what you must comply with as a pilot during take off, cruise and landing – especially away from airports where things are not as straight forward.
Most of this article will be based on the rules under EASA, but a lot of it does come back to ICAO concepts that are applicable worldwide.
What are Aircraft Performance Classes?
Aircraft Performance Classes point at how well a pilot will be able to deal with a critical power failure at any given point and takes the operating conditions (and the surroundings) into account. It’s NOT just the aircraft’s capabilities, it depends on the ground below us, the conditions we fly in, and the profiles we choose to fly as pilots.
But let’s keep things as simple as possible and look at what performance class helicopters should be flown under in different circumstances. How would we as pilots know what class we need to comply with? To figure this out, we just need to look at EASA PART OPS – CAT.POL.H.100:
Helicopters shall be operated in performance class 1 (PC1):
When operated to/from aerodromes or operating sites located in a congested hostile environment, except when operated to/from a public interest site (PIS)
when having a maximum operational passenger seating configuration (MOPSC) of more than 19, except when operated to/from a helideck in performance class 2 (PC2)
Meaning: you need to comply with PC1 if you’re flying to places within a congested and hostile environment, or if you able to carry more than 19 passengers.
Then, for PC1 & PC2 we have helicopters with a MOPSC between 9 and 19. Finally, helicopters with a MOPSC of less than 9 can operate in either PC1, PC2, or PC3.
One sneaky detail here is that the MOPSC is based on the absolute maximum that helicopter could be configured for. However, if the company you fly for has a published altered configuration, then that number of seats will apply for the MOPSC brackets.
This is very applicable to HEMS or SAR were big aircraft cabins get converted into cabins with less seats.
What are Aircraft Categories A and B?
The next debacle is how performance classes relate to flight categories. You hear the terms Cat A or Cat B being used in between PC1 and PC2, some even think they mean the same thing. Let’s clarify.
The categories refer to certification standards. This is the stuff the aircraft manufacturer will have to comply with in order to get their airframe approved by the authority in the way they believe it should be. Based on these standards, an aircraft can either be CAT A + B, or CAT B only:
CAT A EASA definition:
“a multi-engined helicopter designed with engine and system isolation features specified in the applicable certification specification and capable of operations using take-off and landing data scheduled under a critical engine failure concept that assures adequate designated surface area and adequate performance capability for continued safe flight or safe rejected take-off in the event of engine failure.”

Then there is the CAT B definition:
“A single-engined or multi-engined helicopter that does not meet category A standards. Category B helicopters have no guaranteed capability to continue safe flight in the event of an engine failure, and unscheduled landing is assumed.”

So to summarize: engine failure! What happens?
Continued safe flight or rejected take off ->CAT A
Unscheduled forced landing -> CAT B
These certifications usually fall under CA-29 (large rotorcraft) or CS-27 (small rotorcraft), but there are others such as JAR-27/29 and FAR 29 for the FAA side of things.
All these definitions and requirements are purely related to how the aircraft themselves are designed and manufactured – what they are capable of.
This is the main difference with the performance classes, as these are operating criteria that take into account things around the helicopter: trees, water, people, buildings etc, as well as how it gets flown by the pilot.
Basically, if you want to be able to say ‘I am flying this aircraft under PC 1 / 2 / 3, then just pointing at a fancy CAT A aircraft certificate is not good enough!
All you prove with this is that the aircraft in question COULD continue safe flight in case of a power failure. Whether or not that’s actually achievable depends on the how you fly it in the conditions at hand.
If you fly a AW189 with a low take off weight like a monkey, you could still not have the requirements in place for a PC1 flight.
What is the aircraft capable of? -> categories. What is the pilot in this aircraft in this specific situation and location capable of? -> performance classes. So now that this is clear, how DO we comply with PC 1, PC 2, or PC 3 requirements?
What is Performance Class 1?
The golden standard in helicopter aviation. This is the class with the highest requirements and has a narrower field of available helicopters compared to the other classes. Let’s break it down and start with the EASA definition:
“Operation in performance class 1’ means an operation that, in the event of failure of the critical engine, the helicopter is able to land within the rejected take-off distance available or safely continue the flight to an appropriate landing area, depending on when the failure occurs.”
To achieve this, you will need a helicopter certified under CAT A. As you need (as per the definition) the capability to continue the flight in some stages. If you fly a single engine helicopter, this is therefore not possible. In general, we tend to have 3 different ‘profiles’ for CAT A helicopters:
A clear area profile for instances where there is a lot of space available
A restricted area profile, for landing areas on the surface where there is not a lot of space
An elevated helipad profile, for instances where the final approach and take off area (FATO) is situated above the surrounding surface by at least 3 meters
These take-off and approach profiles are usually combinations of height and speed the pilot must aim for to achieve the desired performance in case something goes horribly wrong. Not flying these profiles properly means the difference between achieving PC1 or not.
For any of these departure profiles, we have take-off decision point (TDP), which means (EASA definition):
“The point used in determining take-off performance from which, an engine failure having been recognised at this point, either a rejected take-off may be made or a take-off safely continued.”
Let’s have a look how each profile incorporates this and other variables.
The clear area profile
Let’s have a look first at the clear area profile. Our aim here is to accelerate to TDP in the safest possible way.

The space we need to safely reject is called the reject distance. If we are past TDP, then we can choose to continue or reject anyway provided there is enough space.
The baseline for the continuation assumes a minimum of 15’ height at the lowest point, and a minimum of 35’ clearance with any surface or obstacle upon reaching the take-off safety speed (Vtoss).
The restricted area profile
For this profile, CAT A helicopters climb backwards initially – using the take-off area as the reject area. Upon reaching the height for TDP, usually a pitch down moment is achieved to increase speed and climb away with a minimum of 35’ clearance with obstacles.

For this profile, a 15’ minimum height like in the clear-area profile is not deemed appropriate due to the obstacles in front the helicopter.
If the FATO is a prepared helipad on the surface (instead of a field), then the take off distance required (TODRH) starts at the helipad position instead of the position at TDP. (The H in TODRH stands for helicopters as this is a different term than for the airplane TODR.)
The elevated helipad profile
Then lastly, we have the profile used for take-offs from roofs: elevated helipads. As mentioned before, any helipad is considered to be ‘elevated’ anytime it is higher than 3 meters above the surrounding surface.

For this profile, dipping below the helipad height is permitted (and often required) as long as a 35’ clearance is ensured with any obstacle in the take off area.
Obstacle clearance in the backup area
So, what about our obstacle clearance while we are flying backwards? For this, let’s introduce the D value (EASA):
“the largest dimension of the helicopter when the rotors are turning”
We use this value a lot in HEMS as lots of requirements are based on it. In monkey language: larger helicopter = larger required space. For us here though, an obstacle becomes relevant for our backup area if the lateral distance between us and it is not more than:
0.75D or half the minimum FATO, whichever is greater, plus
0.25D or 3m whichever is greater, plus
0.10 for VFR day, or 0.15 for VFR night, of the distance travelled from the back of the FATO.
The result is a cone looking thingy (top view), because of the added distance as you travel more backwards, away from the back of the FATO (point 3):

The limitations for any obstacle within this cone will be described by the aircraft manufacturer in the RFM. Anything outside can be discounted provided this has been demonstrated to the authority.
This is usually combined with a table that also describes the allowable height for obstacles per unit of distance away from the FATO.
Those are the main things to remember for performance class 1. In general, the things to comply with in order to truly be PC1;
Fly the PC1 profile
Be within the CAT A weight / altitude / temperature limits
Comply with obstacle clearances
Surface area must be adequate to perform a safe rejected take-off, or you must be able to continue the flight and land elsewhere.
Let’s move down a level.
What is Performance Class 2?
PC2 is not as strict (or safe) as PC1, as it comes with areas exposed to extra risk:
“Operation in performance class 2’ means an operation that, in the event of failure of the critical engine, performance is available to enable the helicopter to safely continue the flight, except when the failure occurs early during the take-off manoeuvre or late in the landing manoeuvre, in which cases a forced landing may be required”
This is basically saying there is a chance you might continue safely but only if the failure happens late during the departure, or earlier during the approach.
If that’s not the case, then you’re in for a bad day. Another way to put it is: PC2 can be considered PC3 during take-off and landing, and PC1 during the cruise, climb and descend.
For PC2, TDP essentially gets replaced with a term called the defined point after take-off or ‘DPATO’. Let’s have a look at what that is (EASA Part OPS – Annex I):
“The point, within the take-off and initial climb phase, before which the helicopter’s ability to continue the flight safely, with the critical engine inoperative, is not assured and a forced landing may be required.”
As a comparison, let’s consider 2 of the same CAT A capable helicopters. One is flown as PC2, the other as PC 1.

As shown in the picture, after TDP – the PC1 helicopter will be able to continue safely at 100 fpm at Vtoss on 1 engine, until 200’ in which it can increase the climb to 150 fpm at Vy.
The PC2 helicopter, however, needs to wait longer until reaching DPATO. After this point, the helicopter can climb at the same performance as the PC1 helicopter (150 fpm at Vy). The issue is though, if the failure happens before DPATO, no safe continuation is assured, ie a forced landing might have to be made.
The difference between TDP and DPATO is called exposure. Or the area where you need to be extra prepared as a pilot to make a safe forced landing. The only way to properly prepare for this before flying is to determine your required safe forced landing distance.
The most straight forward way to do this is to add your required CAT A landing distance to the distance to get to 50 ft during departure. Have look at the picture below for clarification:

The operation of flying without a safe forced landing area needs to be properly risk assessed and specifically approved by the relevant authority (HEMS for instance). What is often overlooked though, is that PC2 does actually provide some operational benefits at the cost of extra risk:
Operate when the TODRH is outside the boundary of an aerodrome
Operate when the surfaces are not adequate for a reject, but suitable for a forced landing (waterlogged ground for instance)
Penetrate the Height – Velocity curve for short periods
Reduced AEO distances, thus being able to take off from smaller spaces
Obstacle clearances and distances do not have to be specifically calculated for PC2. However, before you race off to perform a PC2 take off, there are still performance requirements to comply with! Your take-off mass can not be higher than the one that gives you a climb capability of 150 fpm at Vy at 1000’ above the take-off point.
Then, there are 4 ways to determine your DPATO:
The helicopter’s RFM CAT B take-off distance
Vy
The helicopter’s PC1 TDP
Vtoss
This will be stipulated in the RFM or your company Part B. For landings, there is a similar point called defined point before landing (DPBL), which consists of airspeed, rate of descend and above the landing surface.
Most of the philosophies for take-off can be applied to the landing as well so we won’t go any further into those in this article, but could be elaborated on in the future.
Keep in mind that for both PC1 and PC2 you need to be inside the weight / altitude / temperature limits for CAT A. A lot of pilots will think being heavier than the CAT A limit is fine as it will just place you in PC2 instead of PC1 – wrong!
If you are heavier than WAT CAT A graphs dictate, you can only be PC3! The only way to be forced into PC2 is by not flying a PC1 profile for instance but still being within the CAT A limits! PC 1 + 2 is only possible for CAT A capable aircraft.
What is Performance Class 3?
Helicopters operating in PC3 can be certified in either CAT A or CAT B. Let’s go over the definition:
“Operation in performance class 3’ means an operation that, in the event of an engine failure at any time during the flight, a forced landing may be required in a multi-engined helicopter and will be required in a single-engined helicopter”
The limitation here is that operations should only be conducted in non hostile environments (unless remote or mountainous / outside congested areas). So, flying straight over large cities etc at low altitudes is unfortunately not allowed, unlike for our friends across the pond! Further CAT limitations for PC3:
The surface always needs to be in sight
No night flying
Minimum cloud ceiling is 600’
Minimum visibility is 800 m
Pretty limited huh? Furthermore, the en route phase shall at all times be possible above the appropriate minimum flight altitude, which for some single engine piston helicopters in hot + high environments might not be as straight forward!
Conclusion
So, there we have it, all the performance classes explained. Just remember that CAT A and B are certification standards, while the performance classes are operating criteria, two different things!
We could go further into the landing phases as well in a future article, or the continuation of the climb path requirements, but for now we’d like to stay awake, so that’s it for now!